How to identify wood species
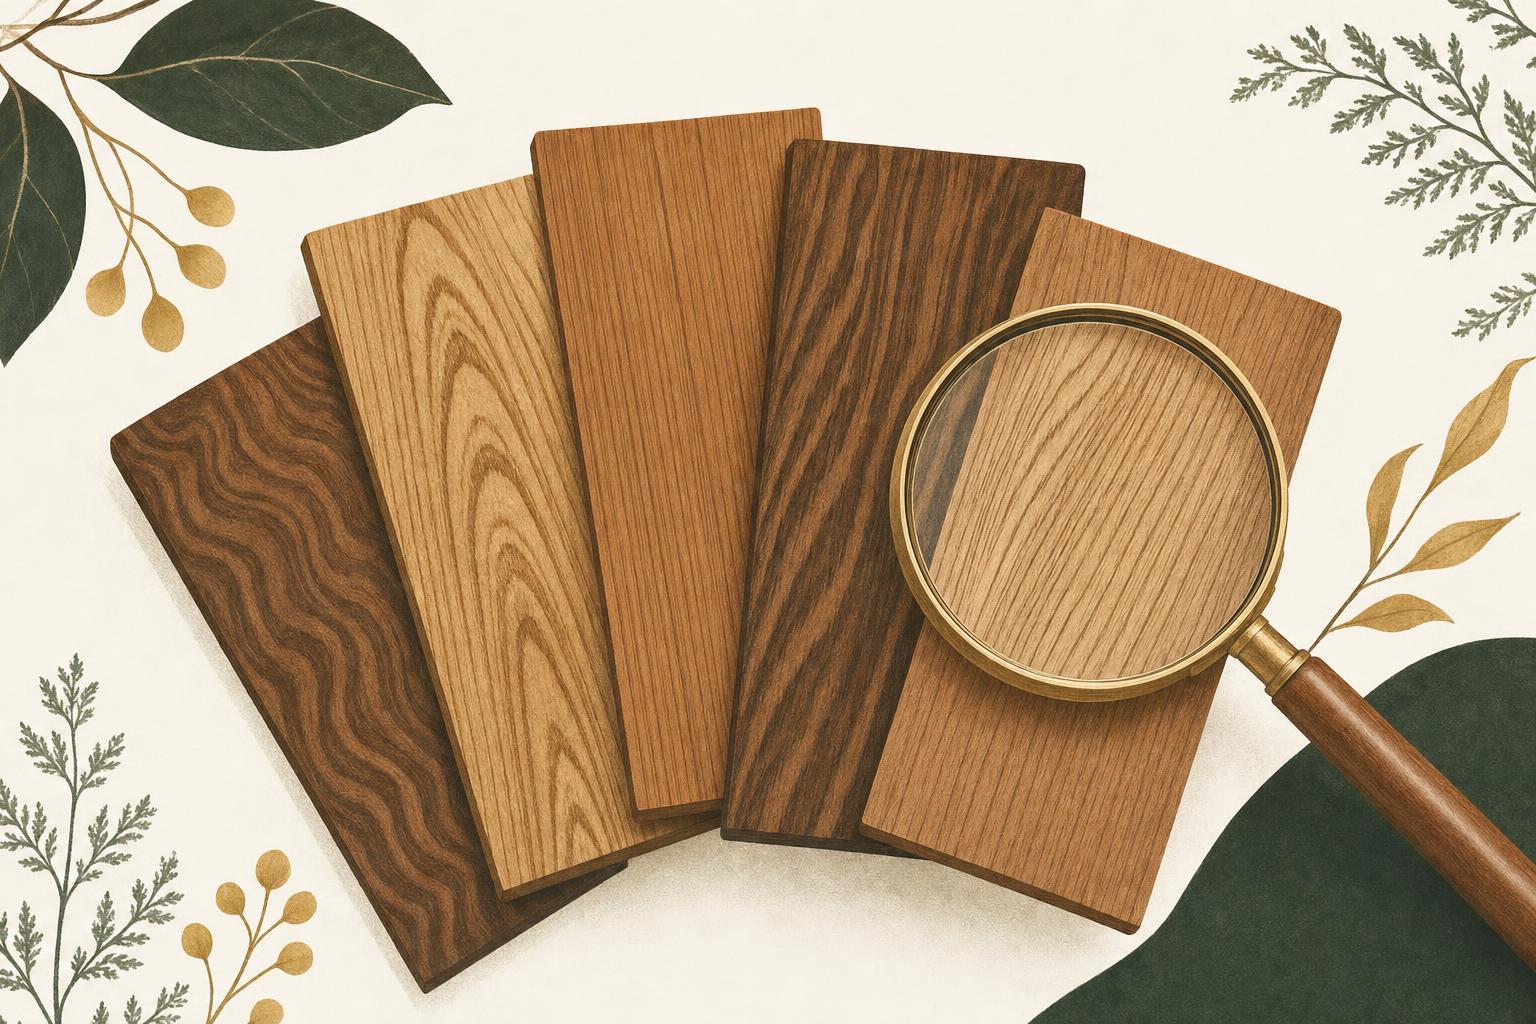
To identify a wood species, examine four things in order: grain pattern, color, weight, and the pore structure on the end grain. Those four narrow thousands of species down to a handful, and a photo identifier like LasWood settles the rest in seconds. Here is the full method, the same one lumber graders use, minus the microscope.
- Expose fresh wood. Sand or plane a small section. Finish, dirt and oxidation all hide the real color and grain.
- Read the grain in good light. Note whether the lines run straight, wavy or interlocked, and whether pores are visible as open lines.
- Weigh it in your hand. Compare against a wood you know. Oak feels dense; pine and poplar feel light for their size.
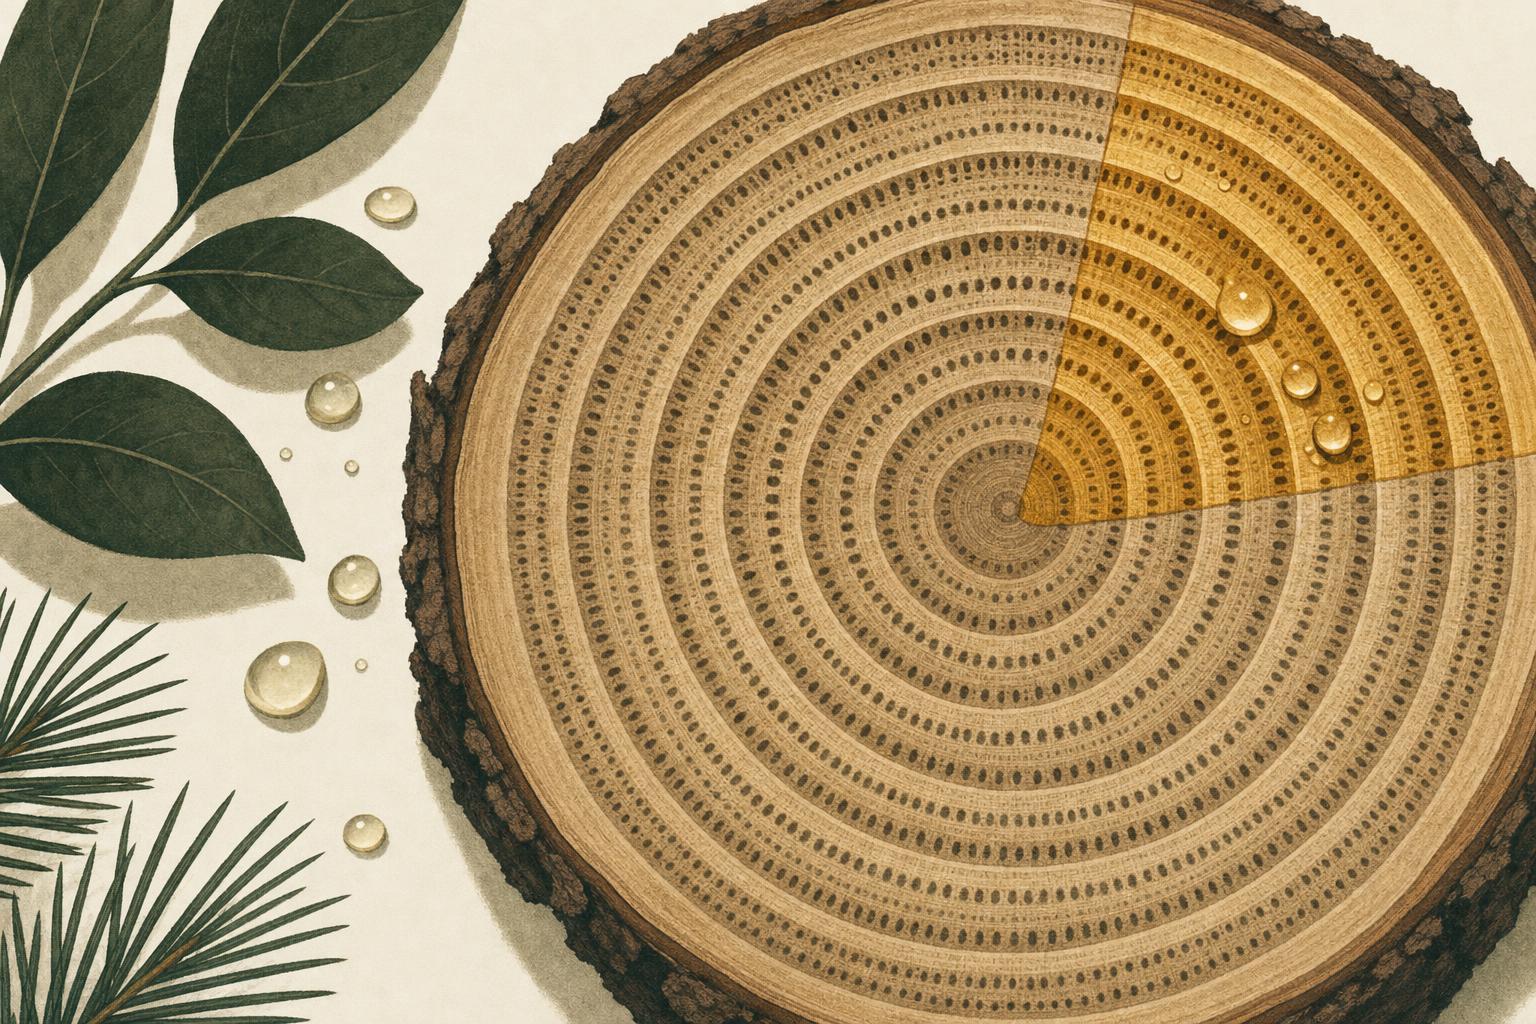
- Check the end grain. Look at the pore arrangement in the growth rings. Ring-porous woods like oak cluster pores in bands; maple spreads them evenly.
- Photograph and confirm. Take a daylight photo of the cleaned face or end grain and run it through LasWood to get the species, hardness and typical uses.
Start with the grain pattern
Grain is the first filter because you can read it without tools. Straight, even lines with a fine texture point to maple or cherry. Bold open lines you can catch a fingernail in point to oak or ash. Interlocked, ribbon-like grain that shifts in the light is common in tropical species like sapele and mahogany.
Look at a face at least a few inches long. Short offcuts can show wild grain near a knot that says nothing about the species.
Color helps, but it lies
Freshly cut cherry is pale pink and darkens to reddish brown within months. Walnut does the reverse and lightens as it ages. Stains complicate things further, which is why color should confirm a guess rather than start one. If two candidates differ mainly by color, sand a hidden corner and judge the fresh surface, not the aged one.
Weight and hardness
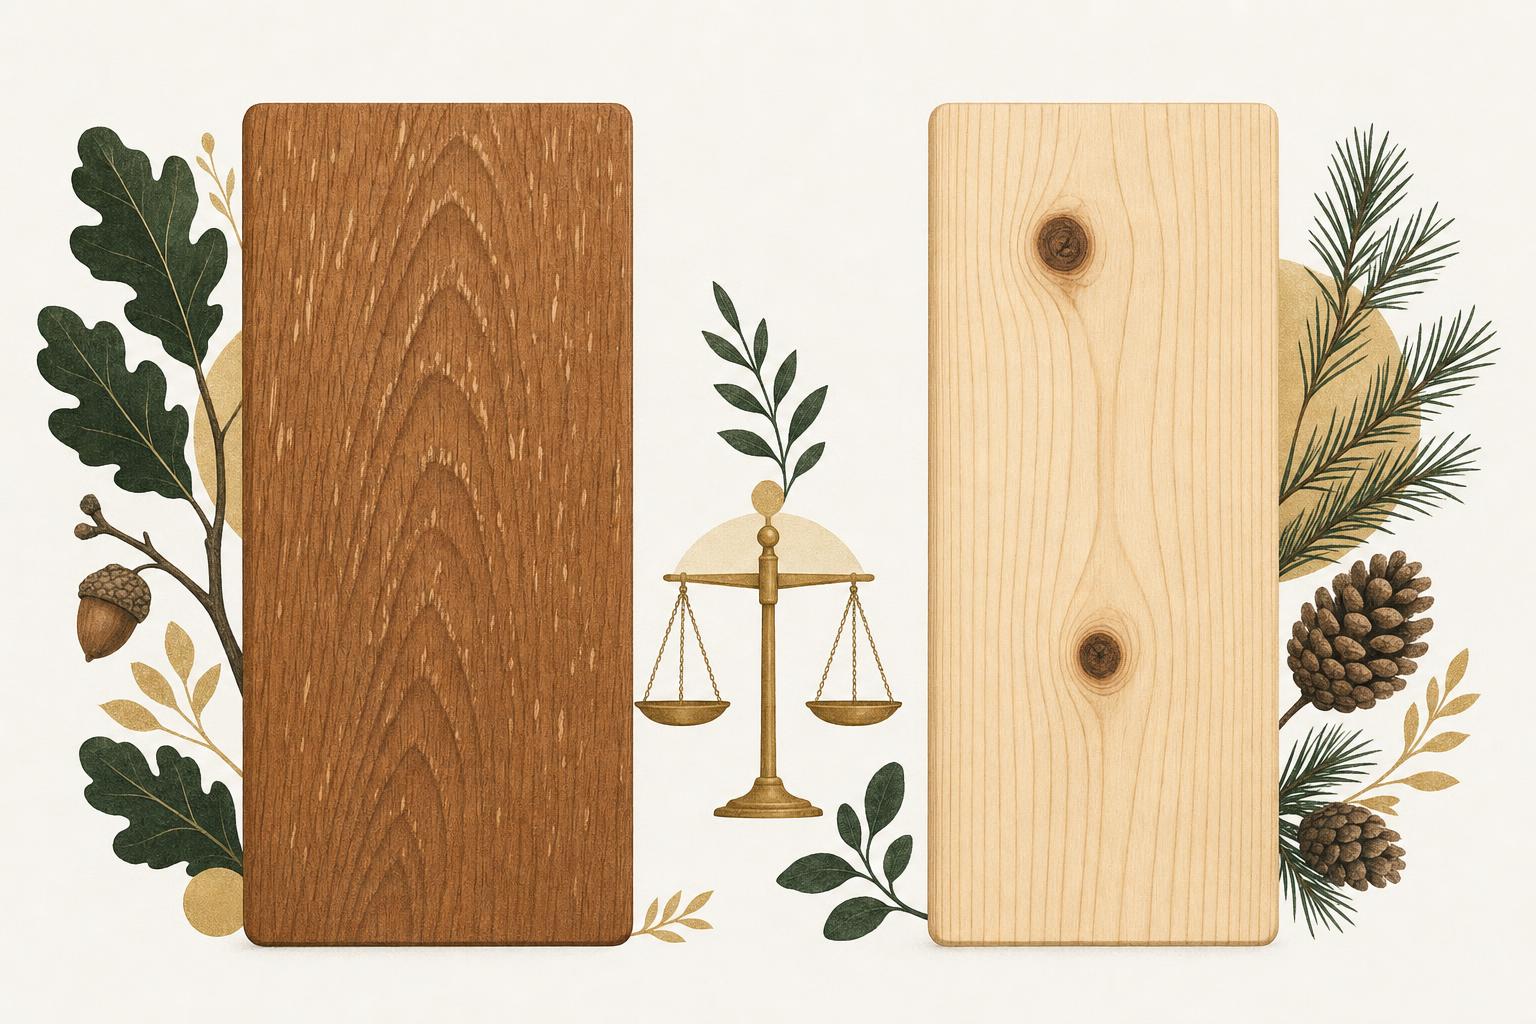
Density separates lookalikes fast. Red oak weighs roughly twice what white pine does at the same size. Press a fingernail into an edge: if it dents with light pressure you are holding a softwood or a soft hardwood like poplar. Hard maple barely marks.
The end grain settles arguments
Species that look similar on the face often look nothing alike on the end. Oak shows pores grouped into bands along each growth ring. Maple scatters tiny pores evenly. Walnut sits in between. A sharp cut or a quick sanding, plus a wipe of water to raise contrast, makes the rings and pores readable.

When to reach for a photo identifier
Manual identification gets you to a genus most of the time. Getting to the species, or identifying tropical woods you have never handled, is where a trained model earns its place. LasWood was built for exactly this: photograph grain, bark or a board and get the species with its hardness rating, best uses and finishing notes. If the answer raises questions, ask them in Tree Chat and watch the linked expert videos.
Questions people ask
Do I need to see the end grain to identify wood?
No, a clean face grain photo identifies most common species. End grain becomes important for lookalikes such as red versus white oak, or for tropical woods.
Can wood be identified through paint or heavy finish?
Not reliably. Sand a small hidden patch down to bare wood first; even a coin-sized window of fresh grain is usually enough.